Share This Post
Vocal Compression: Tips and Techniques for a Professional Sound
Understanding Vocal Compression
Vocal compression is a technique used to reduce the dynamic range of a vocal performance. Dynamic range refers to the difference between the loudest and softest parts of a performance. By compressing the dynamic range, we can make the vocal sound more even and consistent. This is especially important in genres like pop and rock, where the vocal needs to cut through the mix and remain audible at all times. To use vocal compression effectively, it’s important to understand how it works. The basic idea is that we reduce the gain of the loudest parts of the performance, while leaving the quieter parts untouched. This is achieved through a combination of threshold, ratio, attack, release, and makeup gain settings.
Vocal Compression Tips
Parallel Vocal Compression
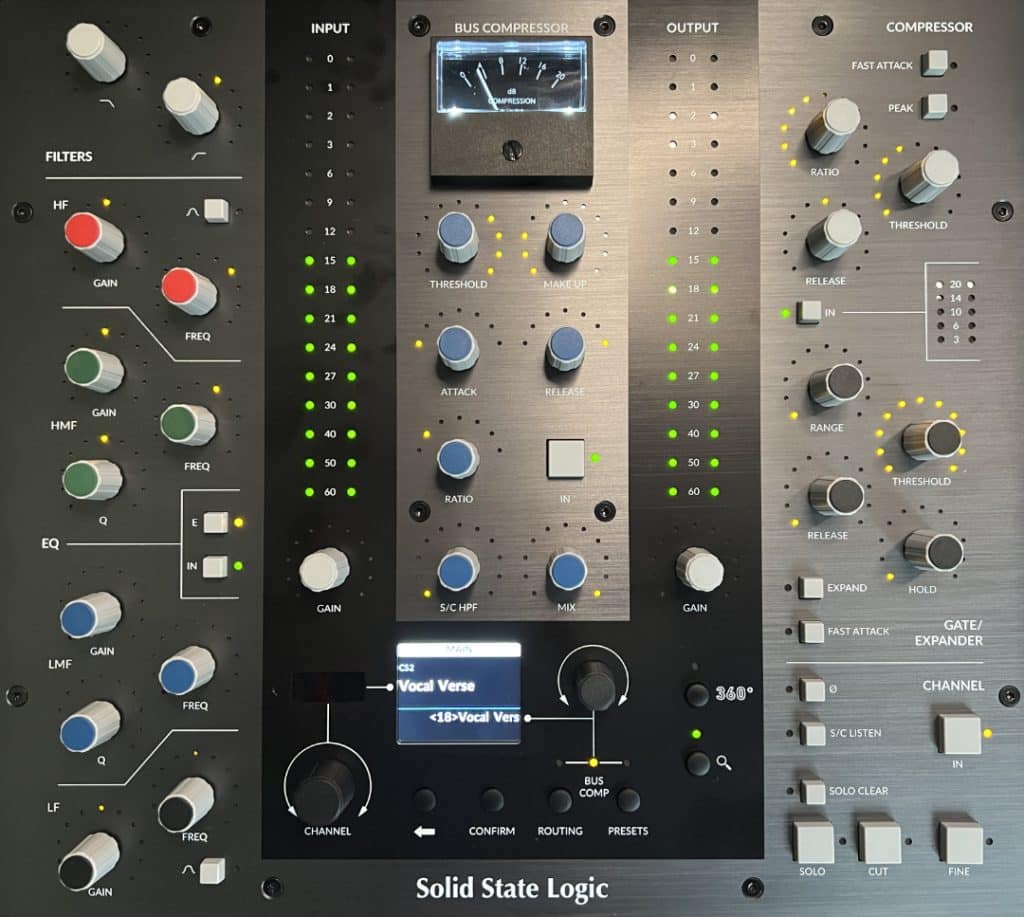
To set up parallel compression for vocals, start by duplicating the vocal track. Apply heavy compression to the duplicate track, using a high ratio and a fast attack and release time. Then, blend the compressed track with the original using a bus or auxiliary channel. Adjust the levels of each track until you achieve the desired sound.
Parallel compression settings for vocals will vary depending on the genre and the specific performance. However, a good starting point is to use a ratio of 4:1 or higher, an attack time of 10-20ms, and a release time of 50-100ms.
Logic Pro Vocal Compressor Plugins
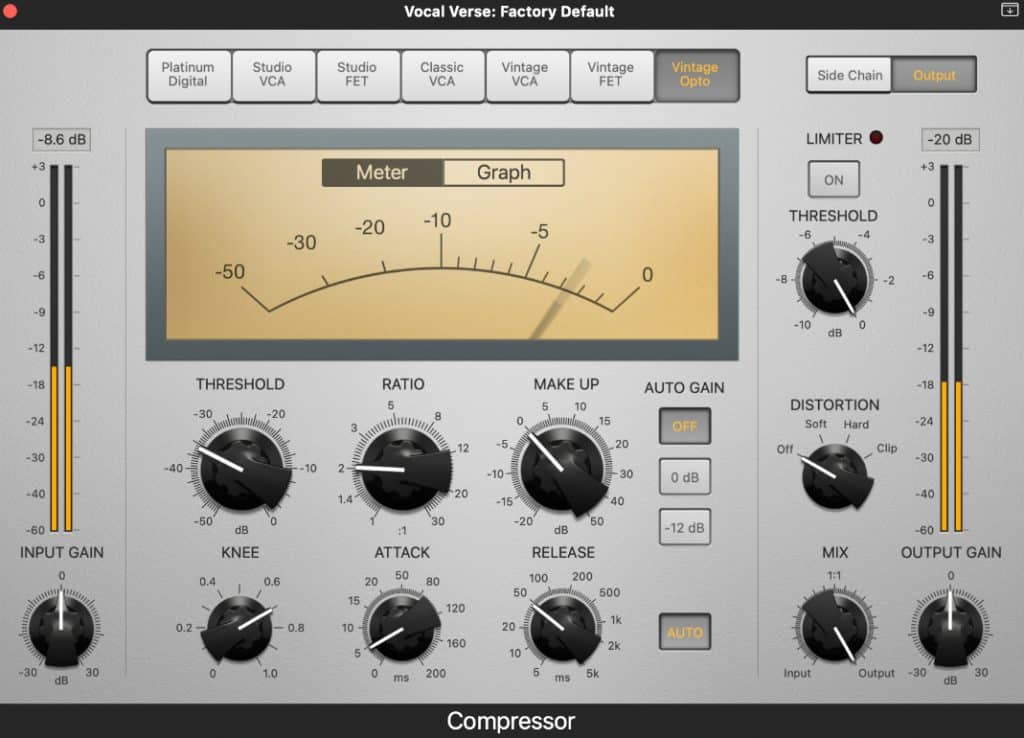
The free Logic vocal compressor plugins are powerful tools for achieving professional-sounding vocals. It comes with a variety of colors and settings for different genres, as well as customizable controls for fine-tuning the compression.
To use the Logic built in compressor plugins for vocals, start by selecting a preset or style that matches the genre of the performance. Make sure you turn Auto Gain off. Then, adjust the threshold, ratio, attack, and release settings to fit the specific performance. Finally, adjust the makeup gain to compensate for any loss in volume.
Recommended settings for different genres include a low ratio and gentle attack and release times for ballads and acoustic music, and a high ratio and fast attack and release times for rock and pop music.
Hip-hop Vocal Compression Settings
Hip-hop vocals require a unique approach to compression, as the genre often features aggressive, in-your-face vocal performances. To achieve the best results with hip-hop vocal compression, consider the following tips:
Use a high ratio – hip-hop vocals often benefit from heavy compression, with ratios of 6:1 or higher Use a fast attack time – this will help to catch the transients and make the vocal sound more upfront.
Use a slow release time – this will help to preserve the natural decay of the sound and prevent the vocal from sounding overly compressed.
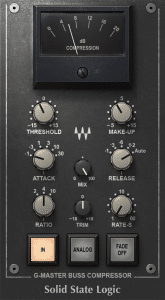
Experiment with distortion and saturation – hip-hop vocals often benefit from a bit of grit and distortion, which can be achieved through plugins like Decapitator, BB Tubes or SSL Native Saturator.
Conclusion
Vocal compression is a critical tool for any sound engineer working with vocals. By reducing the dynamic range and evening out the performance, we can achieve a polished and professional sound. Whether you’re using parallel vocal compression, the Logic vocal compressor plugin, or hip-hop vocal compression settings, it’s important to follow some basic tips to get the best results. Use a gentle touch, start with a low ratio, adjust the threshold carefully, and pay attention to the attack and release times. With some practice and experimentation, you can achieve great results with vocal compression and take your vocal recordings to the next level. Our Vocal Chain presets gives you an optimal starting point for vocal mixing.
More To Explore
New Waves StudioVerse Instruments and Audio Effects
Everything you need to know about the new StudioVerse Instruments and StudioVerse Audio Effects plugins Share This Post On June 24, 2024 Waves lauches 2

Logic Pro 11 Update: The New Features of the Latest Logic Pro
Introducing the Logic Pro 11 update: New Features for Music Producers and Engineers Share This Post Logic Pro 11 update has just been released, and

