Audio Plugin
Musik Hack Sweet EQ Review: Genius or Just Another Plugin?
Share This Post I recently spent some time with Musik Hack Sweet EQ, and after testing it across a handful of real‑world mixing situations, I
Audio Plugin
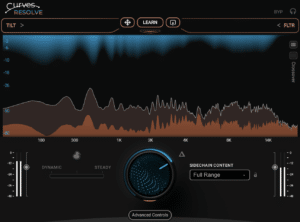
Waves Curves Resolve Review: Genius or Same Old?
Share This Post I recently spent some time with Waves Curves Resolve, and after testing it in a few real-world mixing situations, I wanted to