How to Submit Stems to Your Mixing Engineer
Share This Post
If you’re new to the process of submitting stems from your track for mixing, there are crucial standards to follow to ensure a smooth collaboration with your mixing engineer. Below, we’ll outline the generally accepted practices to help you navigate this essential step in the music production journey.
Understanding Audio Stems
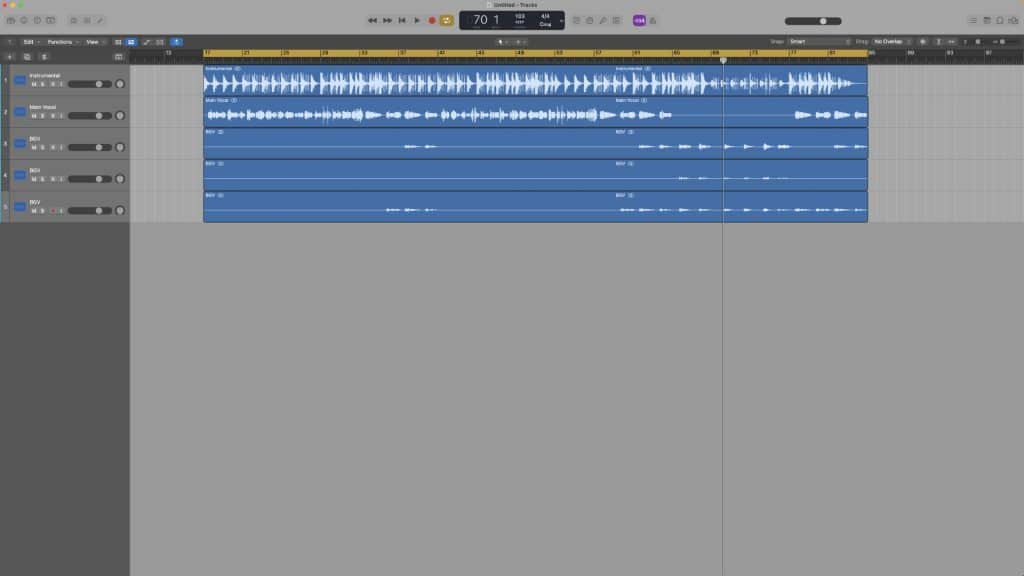
Stems are the individual elements, audio tracks of your song—such as Kick, Snare, Hat, Synth, Vocals—isolated from your track. Each stem should share the same start time and length. This separation allows the mixing engineer to manipulate each sound independently, creating a cohesive sonic landscape.
Preparing Your Stems
Now, before you hit that submit button, here are some things to consider:
Master Channel Processing:
- Turn off all master channel processing. Provide your mixing engineer with the raw ingredients of your music, allowing them to work their magic. This way, you’re letting them create the best sound without any extra tweaks. It’s like handing them a blank canvas to turn your music into something amazing. Your decision to keep it simple sets the stage for a smoother, more creative collaboration with your mixing engineer.
Track Levels:
- Check for clipping after disabling master bus processing. Digital clips can irreversibly damage your music. Maintain adequate levels without any clipping, and consider looping the loudest part of your song to monitor VU meters.
Rough Mix/References:
- Include a rough mix to convey your overall vision for the song. Providing references to other songs with a similar sound can further guide your mixing engineer.
Label Your Tracks:
- Label your tracks logically (e.g., Kick, Snare1, Verse, Hook, Adlibs) to save your engineer time and avoid confusion.
Lossless Audio Format (.WAV):
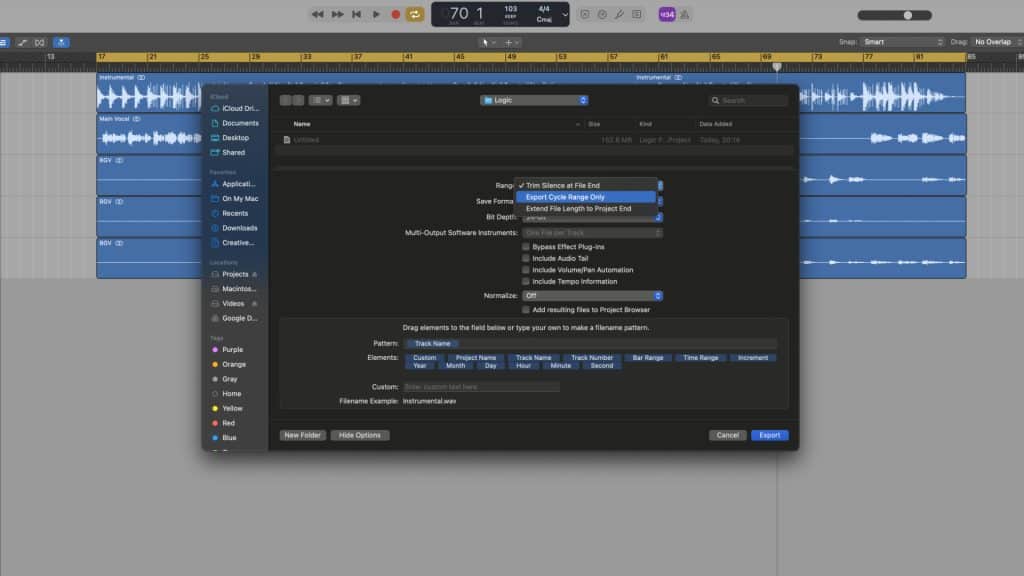
- Bounce out your stems to a lossless audio format, preferably .wav, to preserve the original audio quality. Avoid sending .mp3 files.
Sample Rate/Bit Depth:
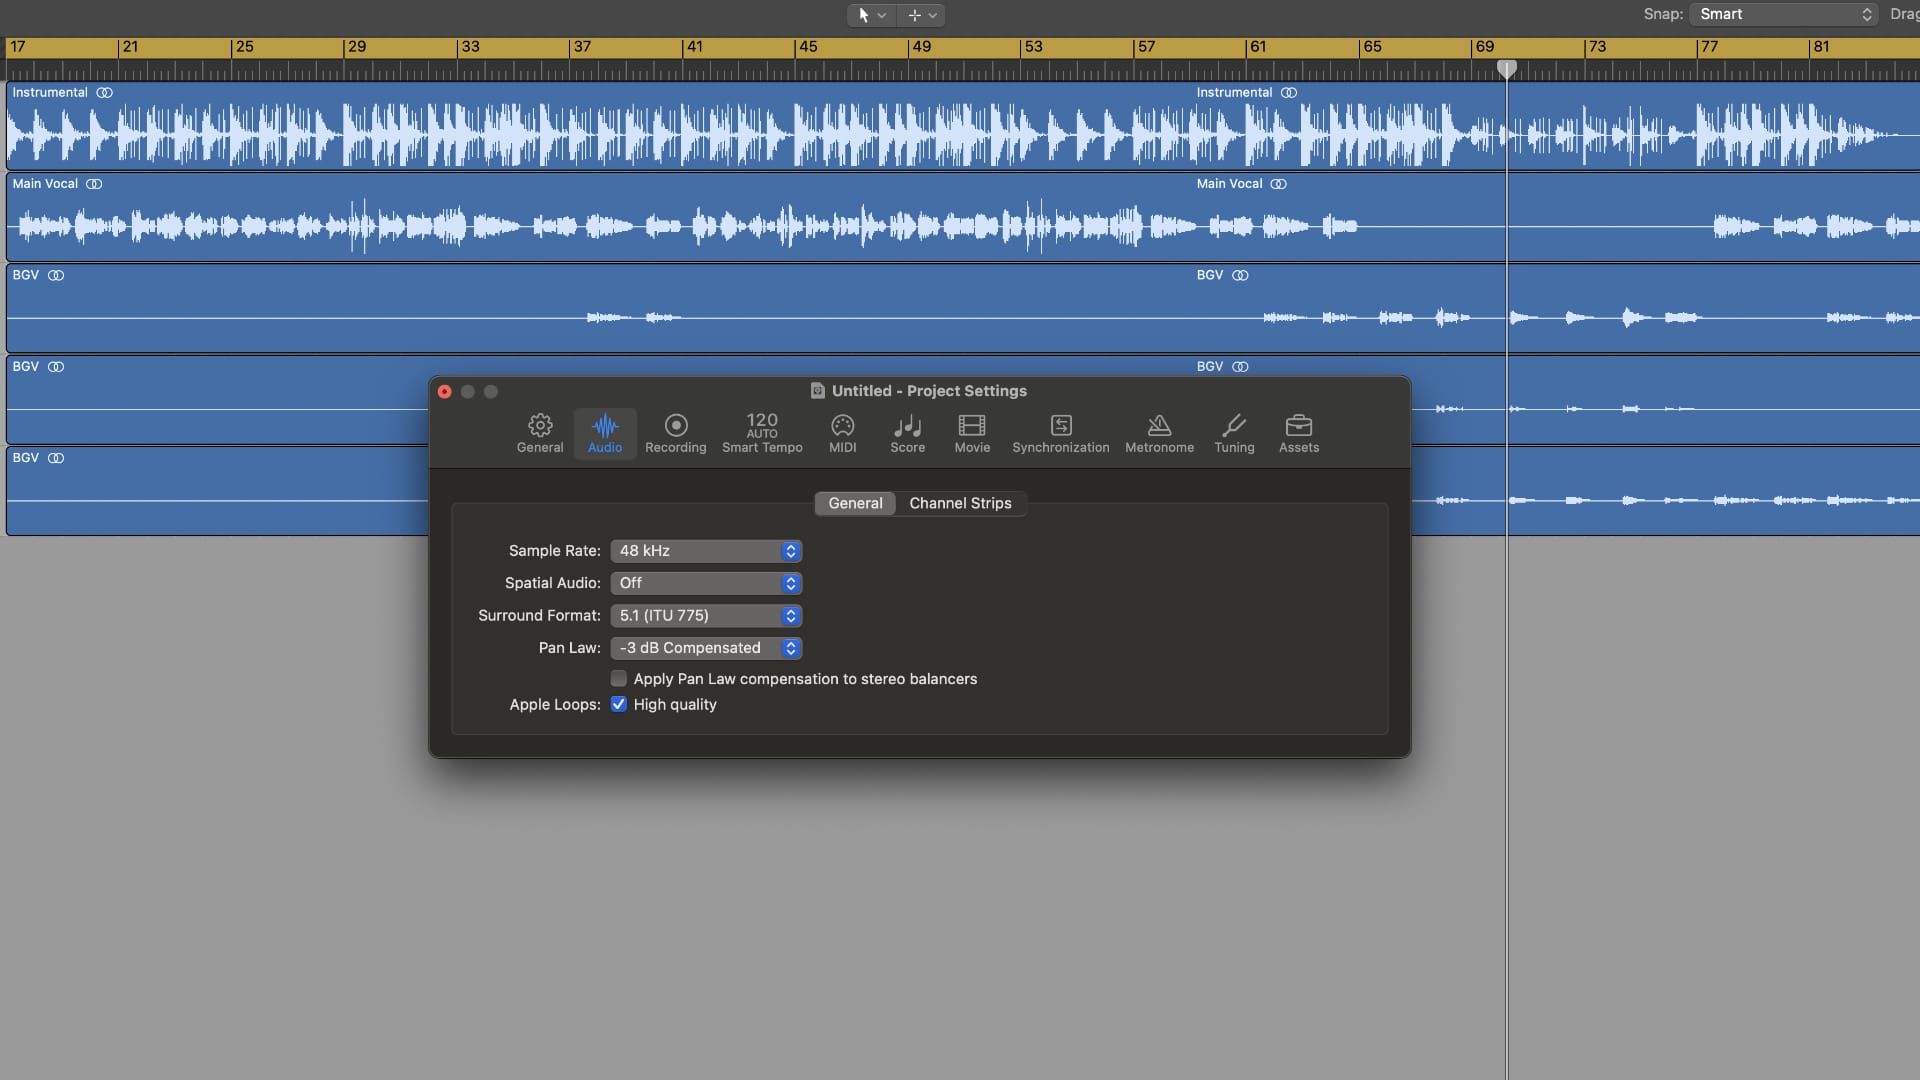
- Aim for a minimum of 44.1kHz/24-bit for solid quality, while recognizing that, in the current landscape, 48kHz is increasingly preferred for a superior sonic experience. Use a resolution that aligns with your creative process.
Compress Files Before Sending:
- Speed up the handoff process by compressing your stems into a .zip file. This reduces file size without compromising quality.
Optimal Stem Organization for a Harmonious Mix
The mixing engineer values simplified stems, where each stem is thoughtfully curated to encapsulate related elements sharing the same sonic characteristics. To achieve a cohesive and efficient mixing process, it is recommended to consolidate similar sounds onto a single stem. This not only streamlines the workflow but also enhances clarity in the mixing environment. In essence, adhering to the principle of ‘less stems, better organization’ contributes to an optimal collaborative experience and ultimately results in a polished and harmonious final mix.
The meticulous approach extends to background vocals as well. For instance, it is advisable not to overwhelm the mixing engineer with multiple identical tracks of vocal doubles; choose a 1 or 2 tracks that meet the desired quality. However, if there are subtle variations or nuances that contribute to the sonic landscape, providing a hint or an octave change within the consolidated stem can offer the mixing engineer more creative flexibility. This thoughtful and strategic organization ensures that the collaboration remains efficient while allowing room for artistic enhancements where needed.
Craft melodic intervals for your harmonies, often opting for a 3rd or a 5th interval to complement the lead vocal. You have the flexibility to create lower harmonies, higher harmonies, or even falsetto, ensuring that each harmony distinctly enhances the musical texture without mirroring the lead vocal.
As the artist, you are responsible for thoughtfully curating and selecting the stems for the record, rather than overwhelming the engineer with an excessive volume of materials for them to sort through. This approach not only streamlines the process but also contributes to time and cost savings, ensuring a more efficient and economical outcome.
In Conclusion:
Turn off master channel processing, ensure optimal track levels, provide a rough mix, label your tracks appropriately, use a lossless format (.wav), choose a suitable sample rate/bit depth, and compress files into a .zip before submission.
Following these guidelines will not only streamline the collaboration with your mixing engineer but also contribute to the overall success of your music production journey. Read this if you want to learn how to record vocals at home. Vocal Recording Templates HERE.
More To Explore
Waves Curves Resolve Review: Genius or Same Old?
Share This Post I recently spent some time with Waves Curves Resolve, and after testing it in a few real-world mixing situations, I wanted to
Eventide Temperance Lite Review: Gem or Just Hype?
Share This Post Eventide released Eventide Temperance Lite, a reverb that introduces something pretty unconventional: modal reverb shaping combined with musical “tempering.” After spending time


